It's time to make our Tool more visually appealing. When user pastes an Image URL to the input, we will update Block's view and shows the Image.
At first, let's save a main Block wrapper to this.wrapper property to access it later:
class SimpleImage {
// ... toolbox static getter
constructor({data}){
this.data = data;
this.wrapper = undefined;
}
render(){
this.wrapper = document.createElement('div');
const input = document.createElement('input');
this.wrapper.classList.add('simple-image');
this.wrapper.appendChild(input);
input.placeholder = 'Paste an image URL...';
input.value = this.data && this.data.url ? this.data.url : '';
return this.wrapper;
}
// ... save
// ... validate
}
Next, add a paste handler to the input.
class SimpleImage {
// ... toolbox
// ... constructor
render(){
this.wrapper = document.createElement('div');
const input = document.createElement('input');
this.wrapper.classList.add('simple-image');
this.wrapper.appendChild(input);
input.placeholder = 'Paste an image URL...';
input.value = this.data && this.data.url ? this.data.url : '';
input.addEventListener('paste', (event) => {
this._createImage(event.clipboardData.getData('text'));
});
return this.wrapper;
}
_createImage(url){
console.log(url);
}
// ... save
// ... validate
}
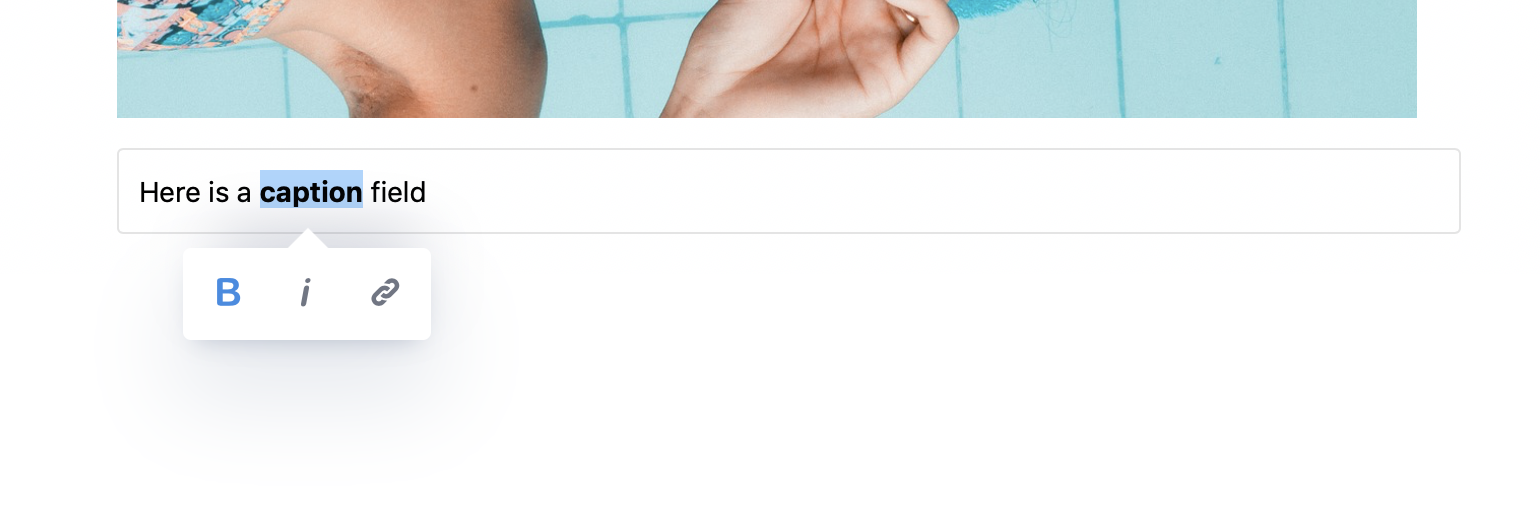
In _createImage method we will show Image and Caption elements. Underscore prefix is used for better determination of private method in our example.
class SimpleImage {
// ... toolbox
// ... constructor
// ... render
_createImage(url){
const image = document.createElement('img');
const caption = document.createElement('input');
image.src = url;
caption.placeholder = 'Caption...';
this.wrapper.innerHTML = '';
this.wrapper.appendChild(image);
this.wrapper.appendChild(caption);
}
// ... save
// ... validate
}
.simple-image img {
max-width: 100%;
margin-bottom: 15px;
}
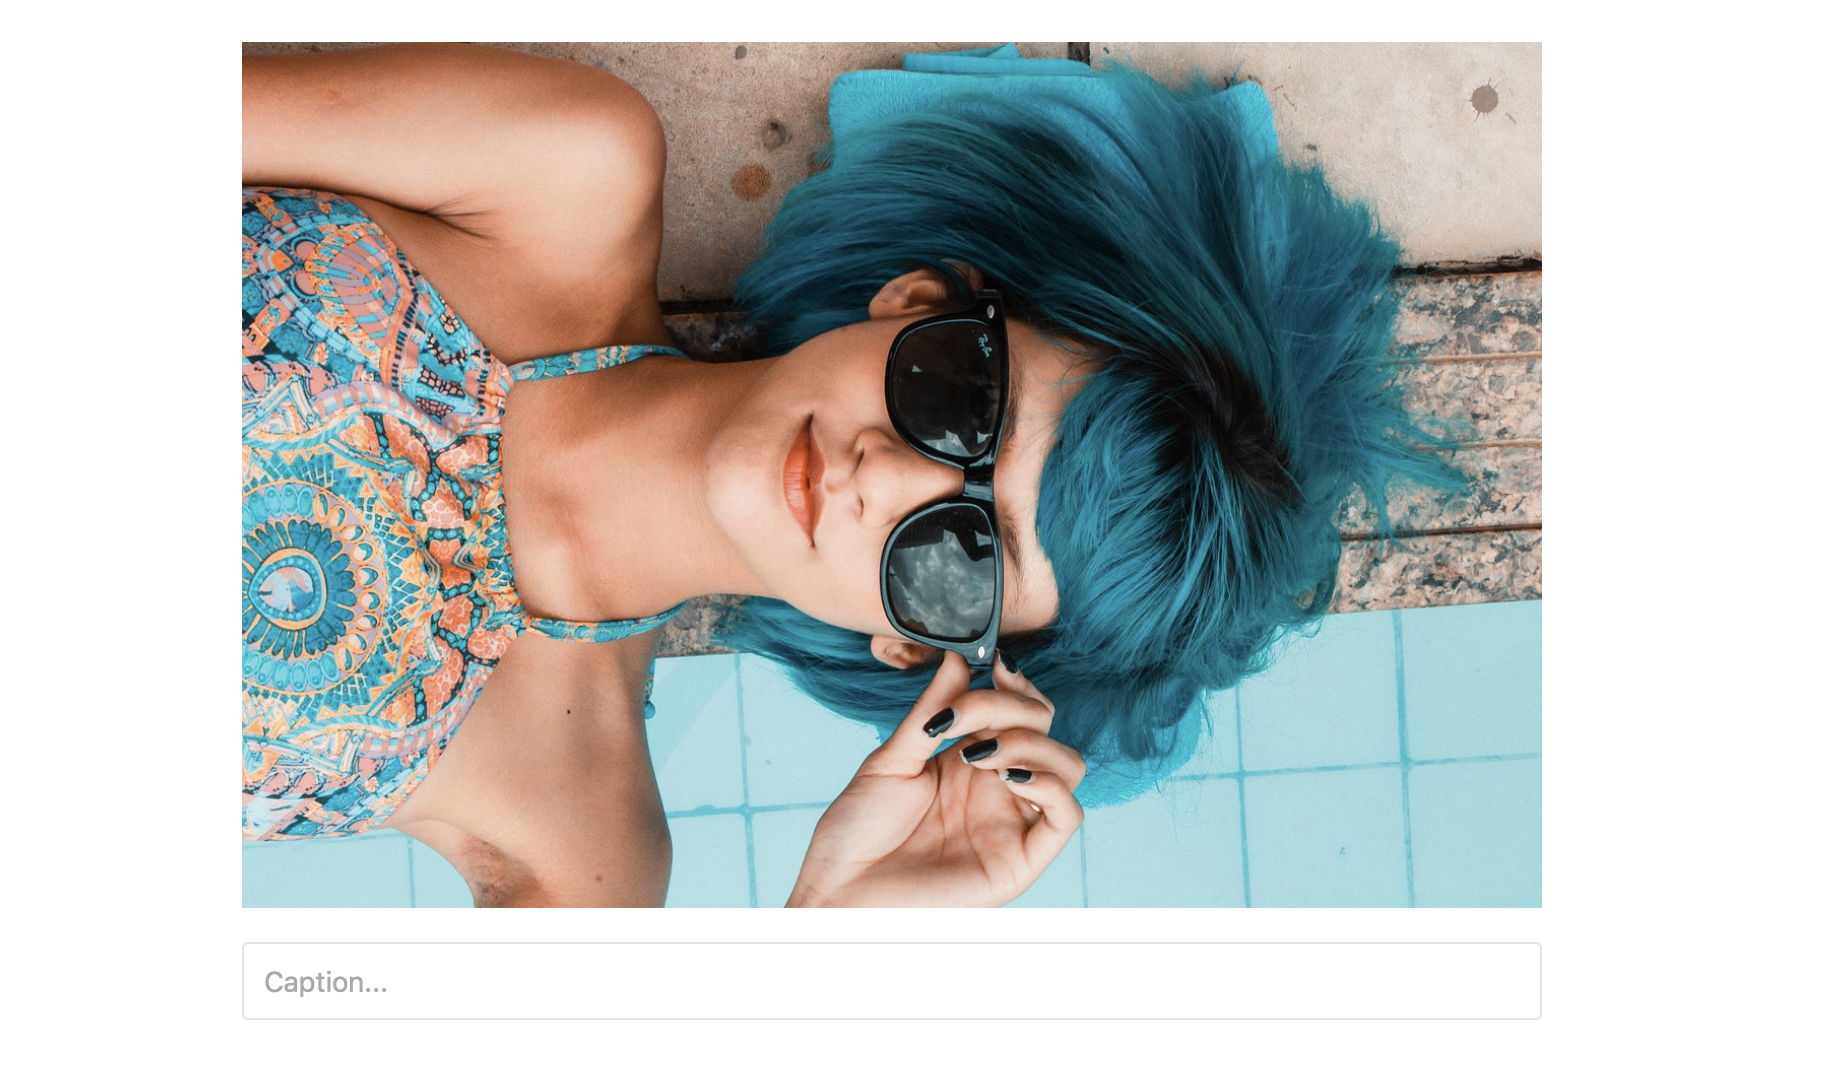
Now try to paste image URL to the input. If everything is fine, you will see an image and a caption field.
Previously, on saving we extract an URL from the input. But for now, we does not have an input after pasting, so we need to get URL from the image source. Also, add a caption field to the our Block's data:
class SimpleImage {
// ... toolbox
// ... constructor
// ... render
// ... _createImage
save(blockContent){
const image = blockContent.querySelector('img');
const caption = blockContent.querySelector('input');
return {
url: image.src,
caption: caption.value
}
}
// ... validate
}
Press «Save» on the demo page and take a look at the output JSON. There should be a correct image url and a caption field:
{
"time": 1552754304939,
"blocks": [
{
"type": "image",
"data": {
"url": "https://cdn.pixabay.com/photo/2017/09/01/21/53/blue-2705642_1280.jpg",
"caption": ""
}
}
],
"version": "2.11.10"
}
Last thing we need is to render an image and a caption when Editor will be initialised with previously saved data . Little modifications of render method will help us:
class SimpleImage {
// ... toolbox
// ... constructor
render(){
this.wrapper = document.createElement('div');
this.wrapper.classList.add('simple-image');
+ if (this.data && this.data.url){
+ this._createImage(this.data.url, this.data.caption);
+ return this.wrapper;
+ }
const input = document.createElement('input');
input.placeholder = 'Paste an image URL...';
input.addEventListener('paste', (event) => {
this._createImage(event.clipboardData.getData('text'));
});
this.wrapper.appendChild(input);
return this.wrapper;
}
- _createImage(url){
+ _createImage(url, captionText){
const image = document.createElement('img');
const caption = document.createElement('input');
image.src = url;
caption.placeholder = 'Caption...';
+ caption.value = captionText || '';
this.wrapper.innerHTML = '';
this.wrapper.appendChild(image);
this.wrapper.appendChild(caption);
}
// ... save
// ... validate
}
Also, we pass a captionText parameter to the _createImage method for showing saved caption.
In next part we will learn how to enable Inline Formatting Toolbar for Caption field.