To activate or not to activate the Inline Formatting Toolbar — is the decision of your Tools' user. So this options configured outside the source of Tool's code.
Open example.html and find a tools property where our Tool is connected. Here is a place to make some configuration. To enable Inline Toolbar, set inlineToolbar option as true.
<!-- HTML code of example -->
<script>
const editor = new EditorJS({
autofocus: true,
tools: {
image: {
class: SimpleImage,
inlineToolbar: true
}
},
// ... data
});
// ... saving button handler
</script>
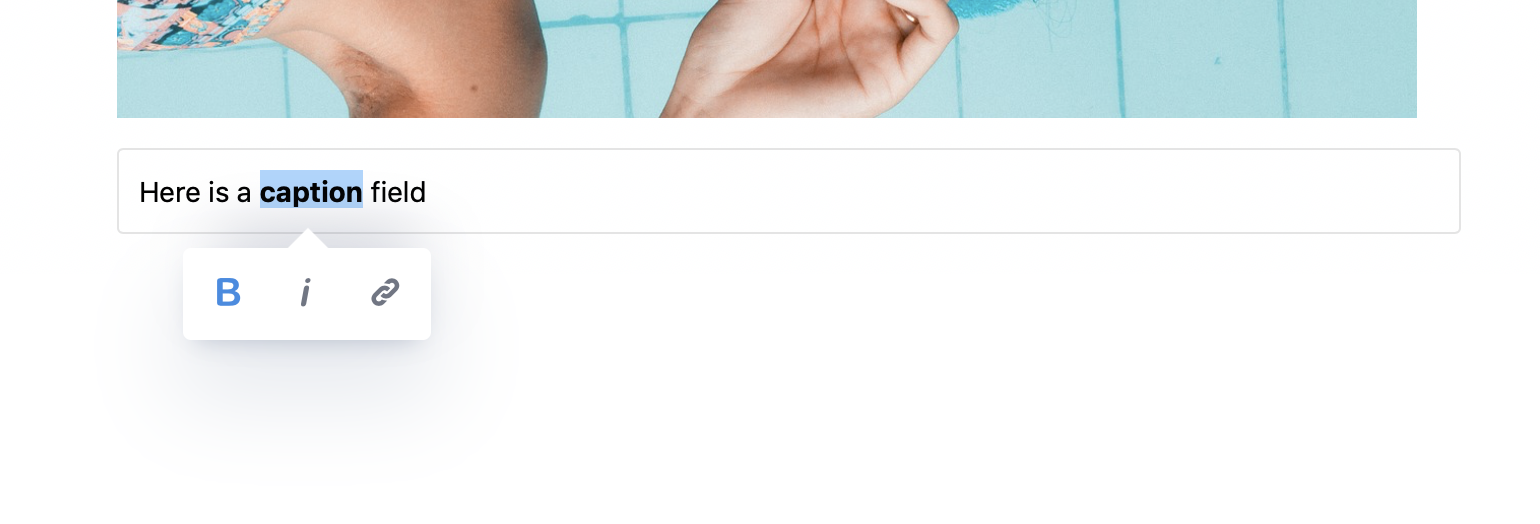
After that, try to select some fragment of a caption field — you will see an Inline Toolbar with all available Inline Tools.
Let's suppose you want only Link Tool at the Inline Toolbar. That can be set by the same option:
<!-- HTML code of example -->
<script>
const editor = new EditorJS({
autofocus: true,
tools: {
image: {
class: SimpleImage,
inlineToolbar: ['link']
}
},
// ... data
});
// ... saving button handler
</script>
☝️
Note.
Names of Tools in inlineToolbar is the keys of Inline Tools plugins that used in tools property of initial config. There are three built-in Inline Tools: link, bold, italic.